
Previously fabricated chainstays and deadeyes.
Finally I could put it off no longer so took a look at the full size items to see what was involved.

Deadeyes at deck level.
Shrouds connected to deadeyes.
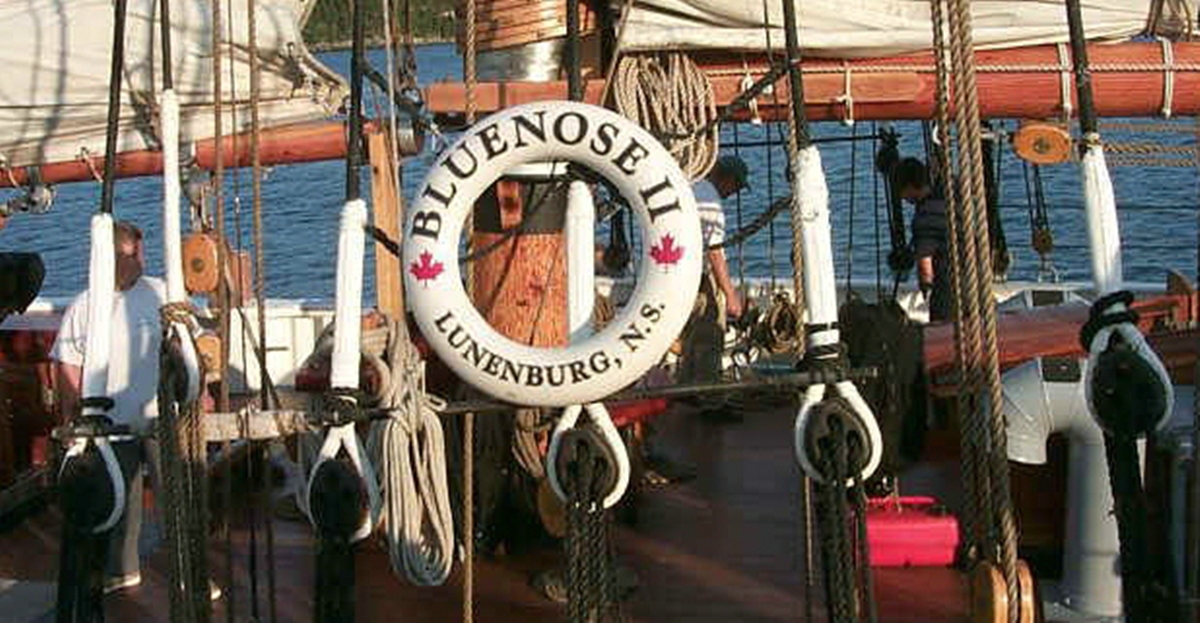
I had also happened to catch sight of a video of the stepping of the masts on the recently refurbished Bluenose II and saw that the shrouds were already fixed to the masts and the upper deadeyes were already in place (and white coated as per the picture above). I considered following a similar approach with my model but on reflection, I felt that that would be difficult to implement. Even if I were able to get the shrouds properly tensioned, fitting the ratlines (which involved gluing) would be problematic, not to mention tedious.
Although the shrouds on the full size vessel do not terminate at the top of the mast but continue unbroken down to the other side, I figured I could cheat a bit on this aspect. In other words, I would fabricate complete shroud assemblies for each side of the ship (four groupings in total), using a template board. This would allow me to pre-position all the pieces in their correct locations, attach the ratlines and then easily(?) mount the finished assemblies to the hull and mast.
With that resolved, I first experimented with the shrouds and deadeyes. It was apparent that painting the shroud after looping it around the deadeye was a non-starter. Also, I needed to make sure that the length of the seized portion was equal for all shrouds. By applying paint to selected portions of the shroud, I was able to pre-whiten the length that went around the deadeye and a smaller spot of paint would indicate where the seizing needed to terminate.
I also thought that a jig might be useful in positioning both deadeyes so that each shroud would be similar. Here is my attempt at such a jig.

Experimental jig for making deadeye sets.
However, this proved to be difficult to work with. In fact, I found I was able to adjust the scale deadeyes in exactly the same manner as the full-size versions, so I shortly dispensed with this jig, although in the following pictures I was still trying to work with it.
Here is the end of a shroud, painted in two locations: (a) where the shroud will loop around the deadeye; and (b) a small spot indicating where to terminate the seized end. I didn't want to paint the full section as I intended to glue the ends together and was concerned that the paint might impair adhesion.

Shroud marked for looping around deadeye.

Shroud looped around deadeye.
Once the loop was formed, used a clamp to hold it in position.

Clamping shroud in preparation for gluing.
A dab of cyanoacrylate ("crazy glue") completed the first part of the job.

Shroud glued in place around deadeye.
When I took a closer look at the resulting assembly in preparation for rigging the shrouds and ratlines, I decided that the twine I'd previously used for the lanyards was too small - and not the right colour. Since rigging the deadeyes, I had subsequently used a larger scale thread for the bowsprit shrouds and felt that this would better serve as the lanyard for the deadeyes. Plus it was black!
Nothing to do but snip the threads in all 18 deadeye sets and start over! But this time, it was a little easier, since the end of the thicker thread could be stiffened with a bit of glue and once dry, allowed for easy reeving (threading).

Threading the lanyard through the deadeyes.
And a few loops later, pretty much back to where we were at the end of Post 12!

Complete looping of lanyards.
Having got that sorted, still needed to finish off the seizing. Using the same size thread, started at the deadeye and worked my way out. (As an aside, the line used for seizing should theoretically be about 1/8th the diameter of the line being seized but I didn't have the patience to go to that detail! Also note the thicker lanyards are in place by this time.)

Preparing to apply sizing.
Wind out to the mark and we're ready for trimming and some white paint to finish the job. Also used a dab of cyanoacrylate to secure the ends of the seizing.

Sizing complete, ready to trim and apply white paint.
As before, merely repeat 18 times and we're ready to tackle the ratlines.
'Til the next time.
No comments:
Post a Comment